AO1-Contextual Understanding
Idea Sheets
|
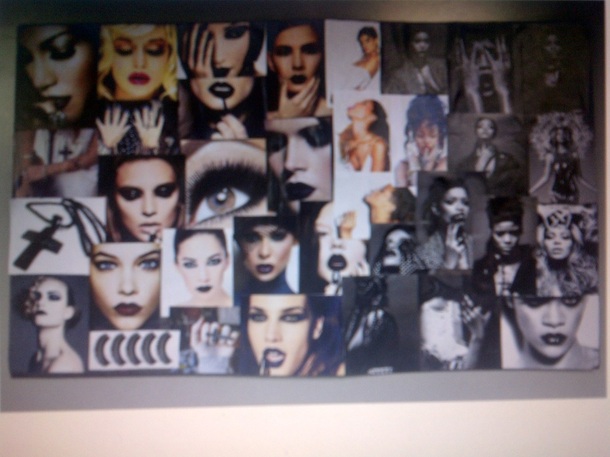
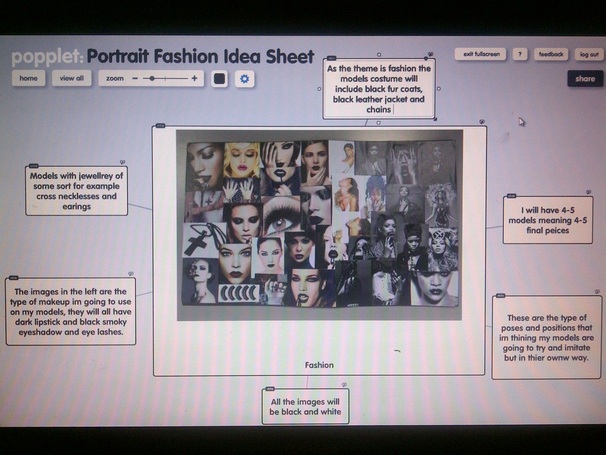
This is a a story board that I had made when I choose fashion as my theme. I first started to find models for inspiration then make-up. The benefit for this story board is that it gives my models that I'm going to use guidance. |
|
After making the mood board I had to annotate it and so I used a website called Popplet, its an easy way of doing online mind maps which I found really useful. |
Jorge Miguel
|
|
Jorge Miguel is a Spanish photographer , his passion fro photography started when he was just 14. Jorge Miguel naturally creates a piece of work which gives his models a different look, he also adds a lot of texture to the models face, this can be seen as his photographer mark. Every photo is different to one another, creating a uniqueness in his work but you are still able to identify his work. The work of Jorge Miguel is very coloured minimised, he doesn't use more than three colours in his photos. |
|
|

|
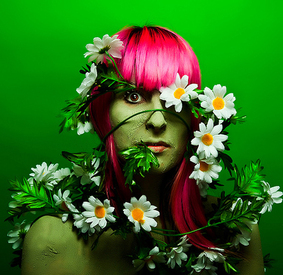
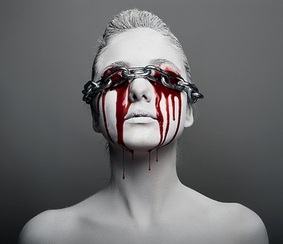
Jorge Miguel's photos are thought to be very bold and vibrant. He uses a vary of bright and dark colours , so for example the photograph on the left is more of bright colours, he tried not to so use more that three colours in his photographs and this one shows exactly that, the photograph in the middle is of white and grey colour, most of Jorge Miguel photographs are of this style and lastly the photograph on the right is dark with black and dark blue. Jorge Miguel places all his models in the centre of his fame from the shoulders up, the models are also faced forward in most of his images and this is seen in most of his photographs, in some rare cases we see some have their heads turned.
Cristina Otero
|
|
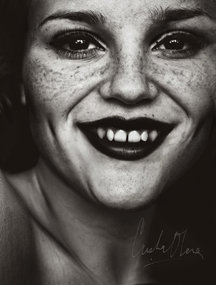
Cristina Otero Pascual, born November 29 1995 is a Spanish photographer and artist best known for her self portraits. She found her love for photography at the young age of 13. after watching the famous modelling series America's Next Top Model she found that she was intrigued by the make-up and styling, she then self taught herself. Cristina Otero is the youngest artist in Spain who have ever exhibited individually in an art gallery at the age of 15 |
|
|

|
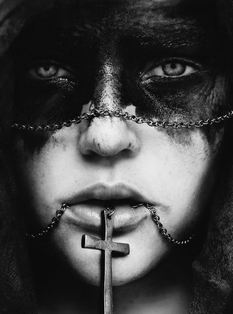
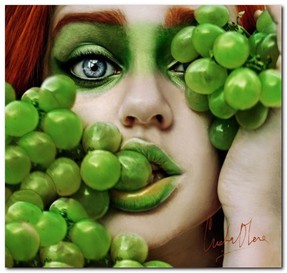
Cristina Otero photos are thought to be dramatic the reason being she uses a vary of bright colours and dark colours for different photo shoots. She tries to also not to so use more that three colours in her work and all her photographs are mid-shots never below the shoulders. The reason why Cristina Otero intrigued me was because her work is very eye catching as its artistic, as my final pieces will be black and white I'm going to use her black and white as inspiration.
David Bailey
|
|
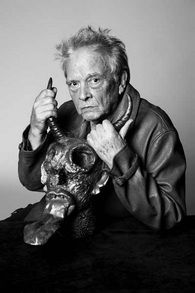
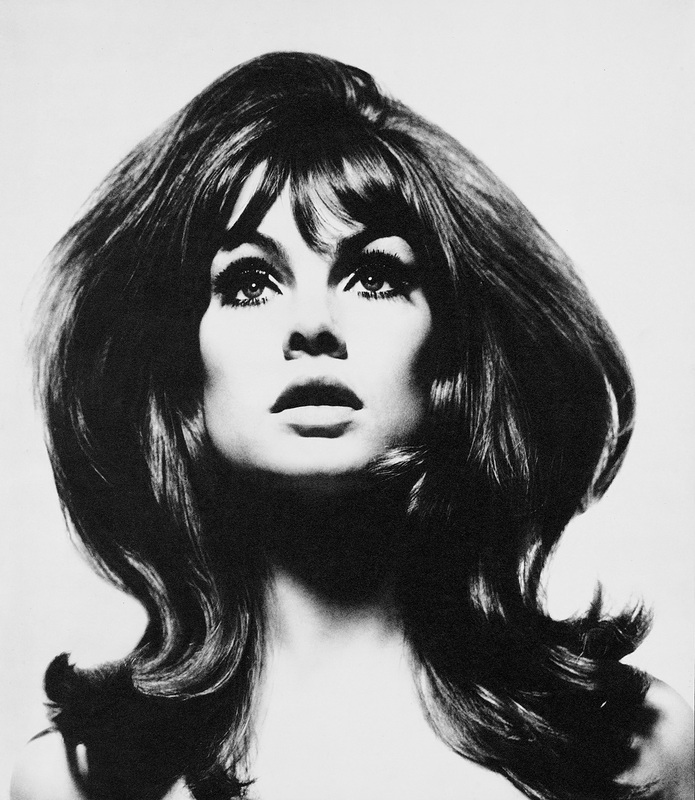
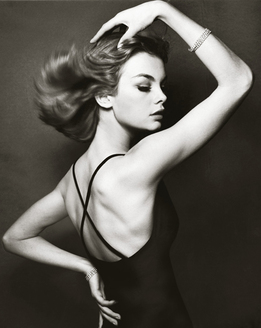
David Royston Bailey is an English photographer born 2 January 1938 and it recognised as one of the nation's best photographer. He began his career in photography as an assistant at the John French studio and then photographer for John Cole's Studio Five before being contracted as a fashion photographer for British Vogue magazine in 1960s. |
|
|
|
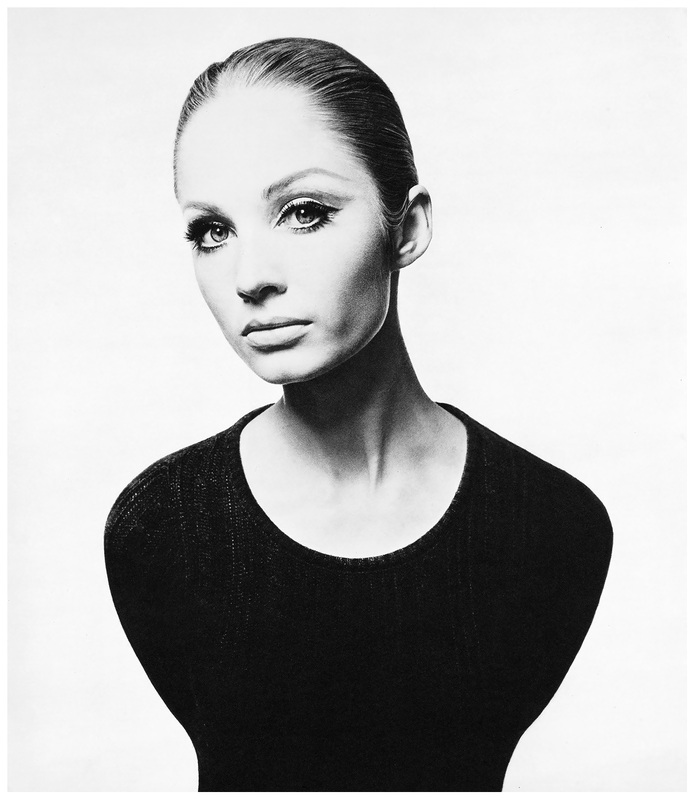
David Bailey style of black and white is the reason why he is one of my inspiration photographers, he is most know for using white background for most of his photographs this is something that i may use in my final piece. When thinking about black and white the use of a white background doesn't appear to you and so the use of the white background would make the image more effective, specially when the model/object is wearing a dark colour as you can see in the image on the right. This tells me when using David Bailey style i will have to think carefully about what my model wears.
AO2- Creative Making
Lighting
One Light Source
Butterfly Lighting
The butterfly lighting is a flattering and artistic way of lighting the face, its created by the way in which you angle the light to fall on the face of a subject. The light should be placed directly in front of the model and then adjust the height so that a butterfly or heart shaped shadow appears under the nose. Butterfly lighting can be used with hard and soft light.
|
Rembrandt Lighting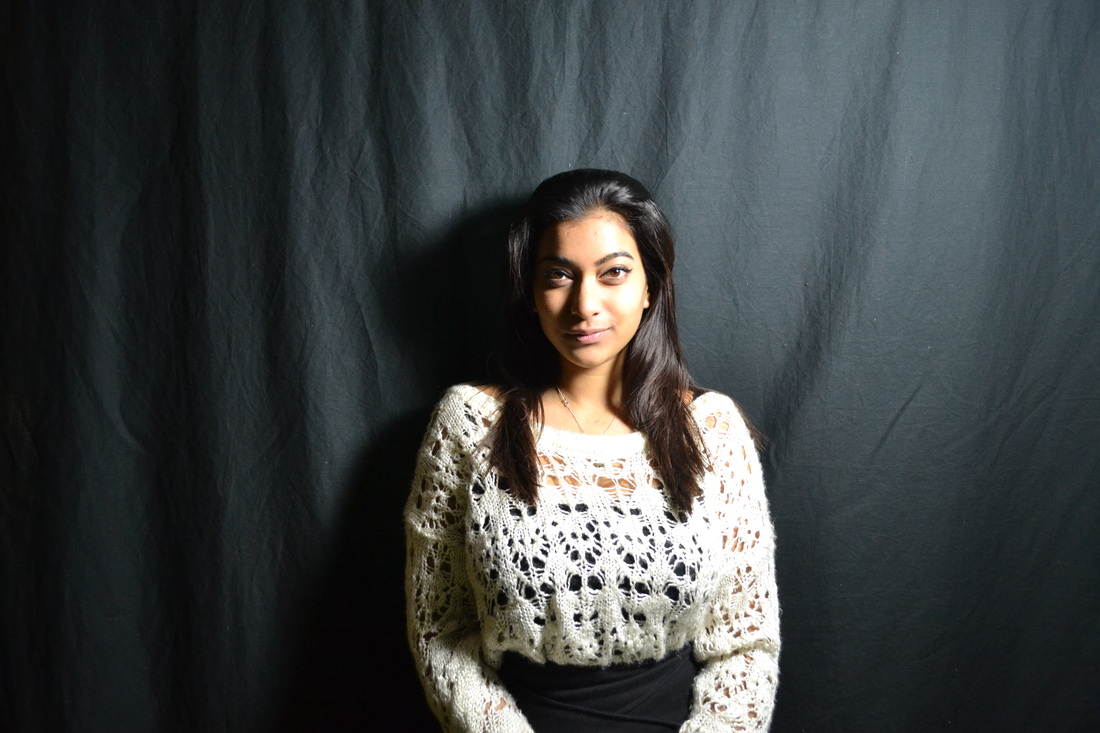
Rembrandt lighting is a flattering style of lighting used for mystical and dramatic effect. It covers most of the face making it narrow. To achieve this the light should be placed 35 degrees to the side and the hight at 45 degrees, this will then create a triangular shape on the cheek furthest away from the light. when used with hard light it creates more of a dramatic look and with soft light a beauty look.
|
Split Lighting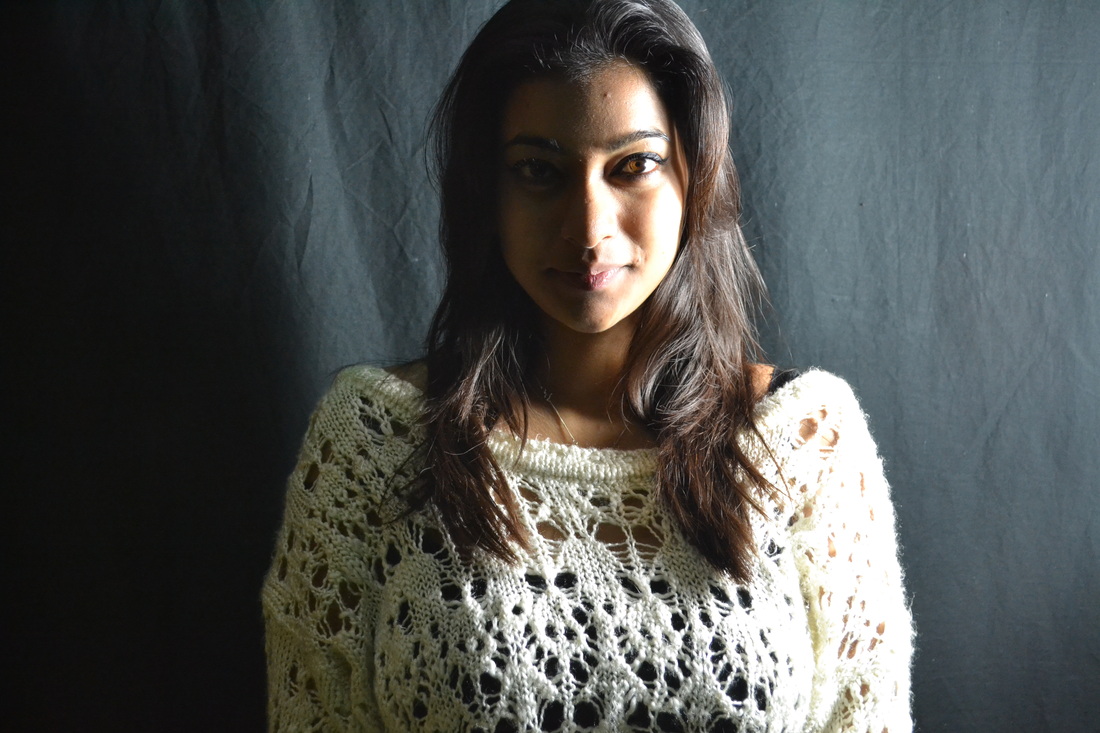
|
Rim Lighting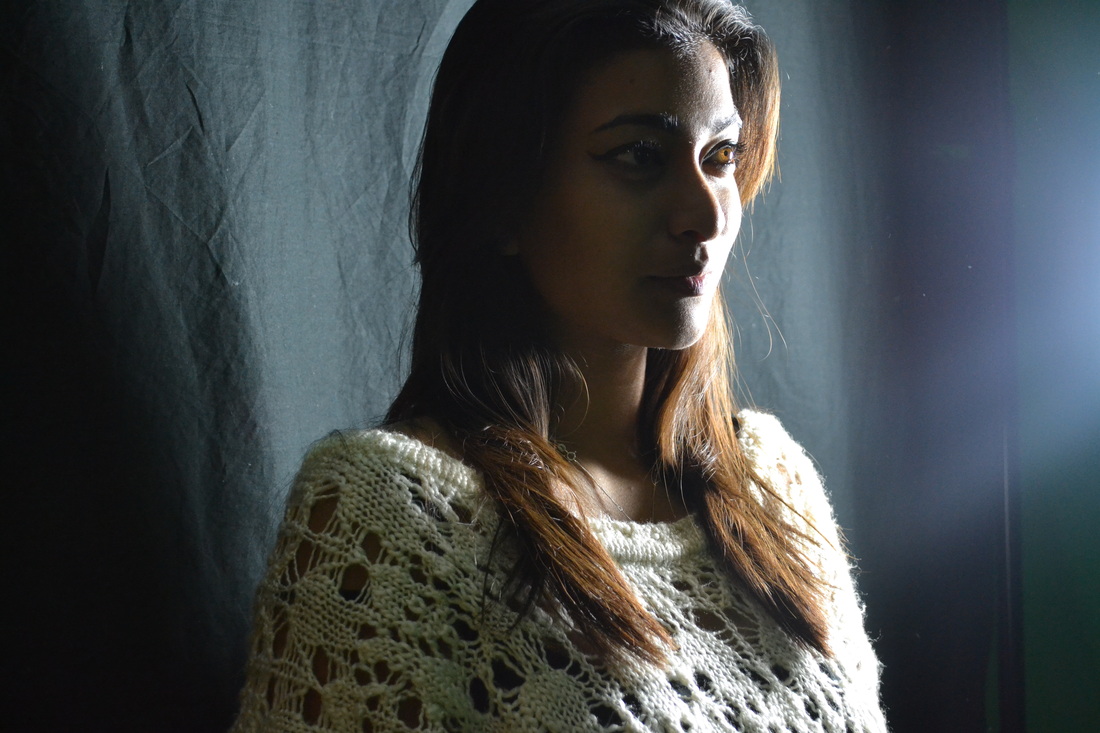
|
|
Split lighting is an extremely dramatic lighting, its sometimes used for sinister type of styles of lighting. Split lighting has half of the face in shadow and the light half is lit. To achieve this the lighting has to be placed directly to the side of the the subject and the camera infront of the subject, with hard light close up to the face will make more of a dramatic split
|
The rim light is very useful to highlight the edge of the persons face.It makes it very mysterious as it hides the persons identity. The rim light is set next to the person or behind there person so its completely dark, but what usually moves is the camera on a position which will get there aim to be accomplished.
|
Two Light Sources
Clamshell Lighting
Clamshell lighting is a very glamorous and flattering style of lighting. The model is positioned in her side looking directly at the camera. The soft lights are as close to the model as possible. the top light is faced downwards at a -45 degree angle and the bottom light is faced upwards at an 45 degrees angle, and the camera is placed in-between both lights.
|
River-Crop Lighting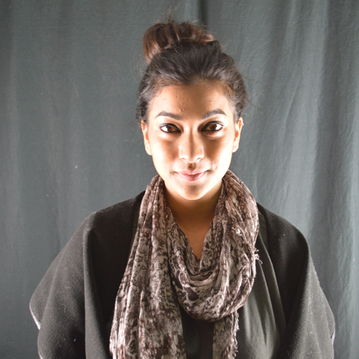
The River-crop lighting is the most unflattering type of lighting its a technique used to make a subject /model look scary and psychotic . The lights are placed on the side of the model and moved slightly behind the model, this then creates a shadow between the subject/model's face. The shadows created by the lights are controlled on how far behind the lighting is from the model.
|
Spray Lighting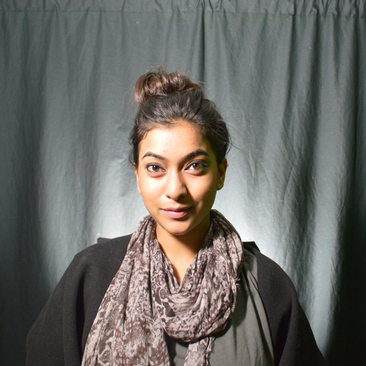
Spray lighting is a very different lighting technique compared to others, this lighting technique is to make the background look better if its very dull. The light is positioned behind the subject and it is very useful if you want the subject to stand out or become darker. Its main importance is the further it is from the wall the bigger the circle is, the closer it is the smaller the circle is, in the case of the photo, I used a square lighting.
|
AO3- Reflective Recording
Photoshoot Experiments
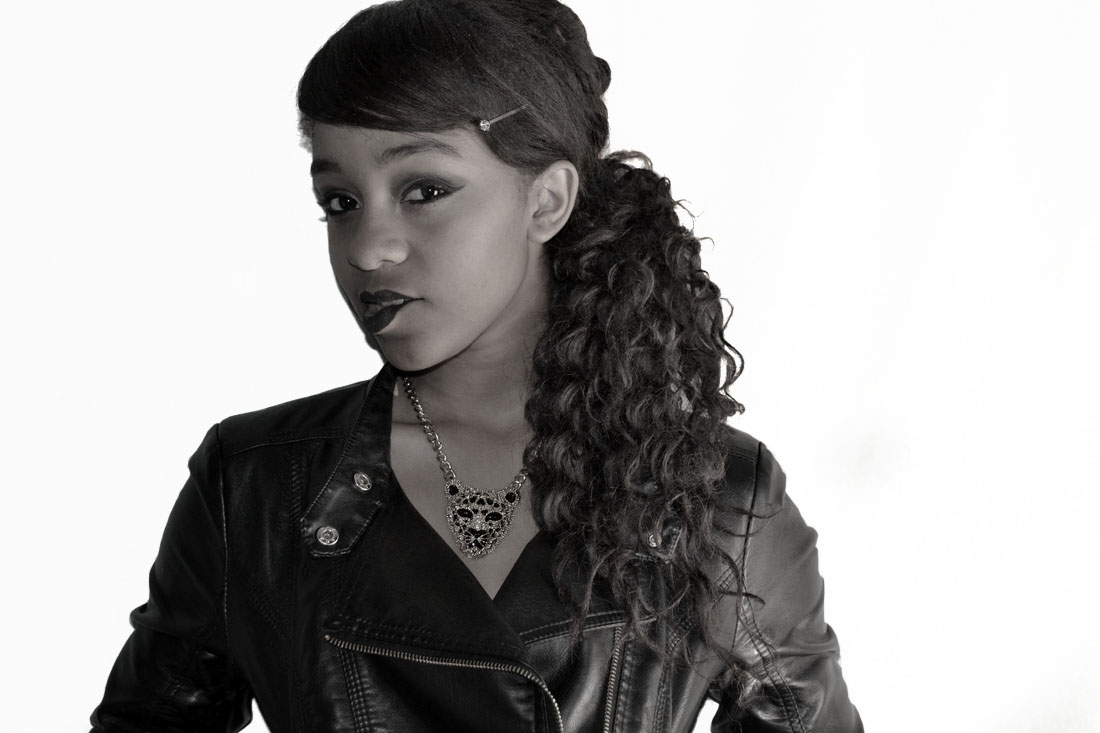
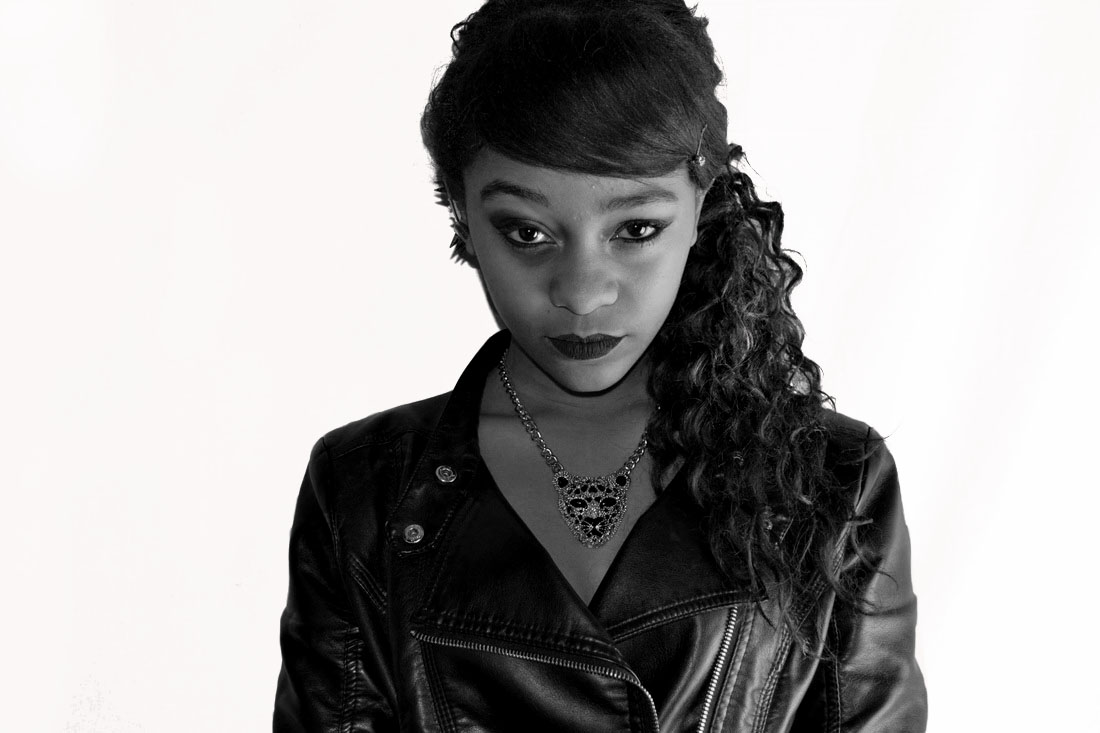
Photo shoot 1- Tais Inspired by David Bailey
|
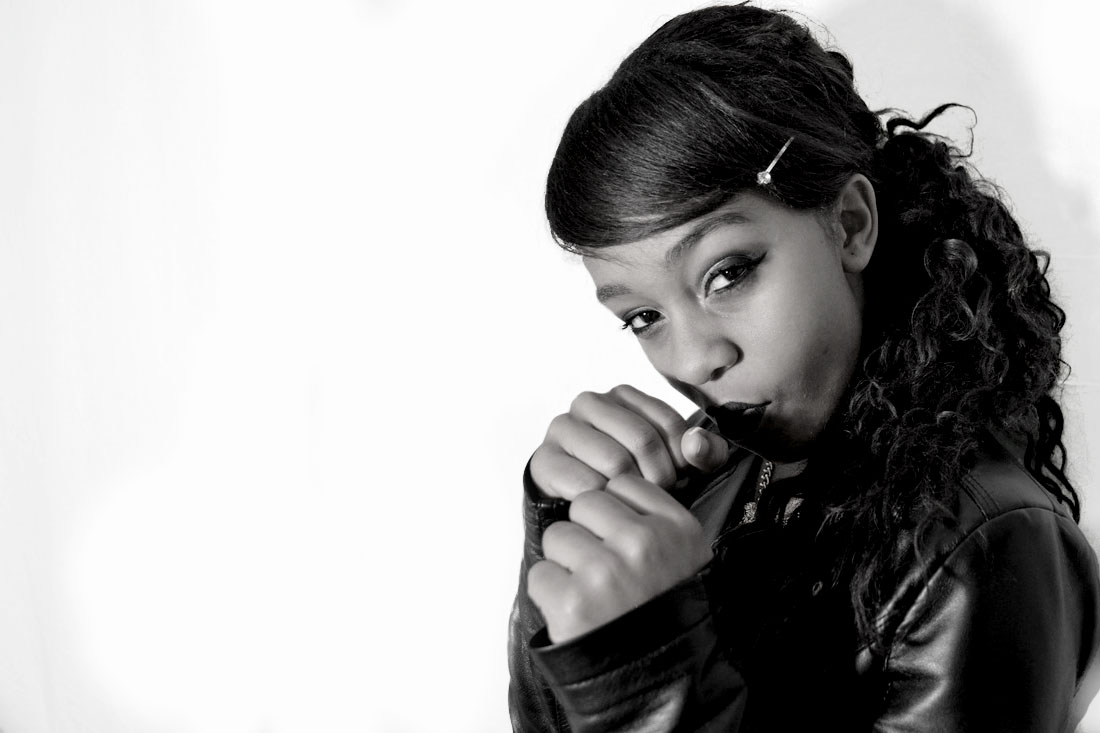
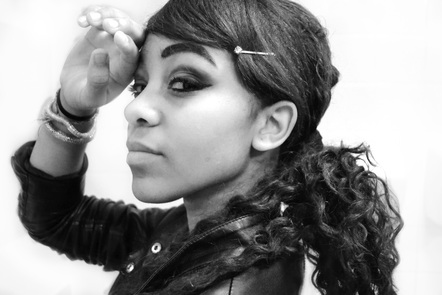
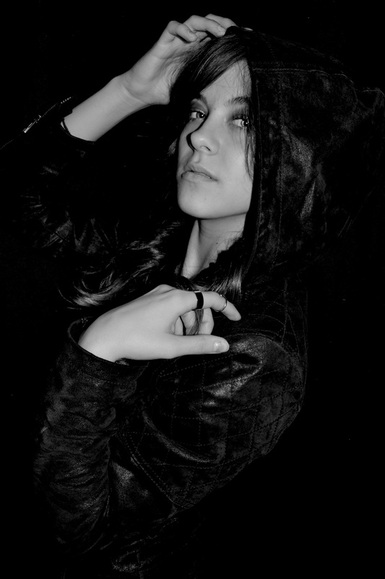
The first photo shoot involves Tais wearing exotic make up and a black leather coat which goes with the black and white theme I am trying to portray. When photographing Tais I made sure she was positioned in the middle of the frame as her face is the main focus in this picture. I used a variety of lighting techniques, this was to test out what type of lighting would go with make-up as her make-up was heavy and would need softer lighting so when later on editing you wouldn't loose the effect of the make-up. All of my photographs are mid shots, this is significant because it follows the rule of portrait format.
What i found difficult shooting for the first time is that Tais was shorter than me and so when looking back at the photo's they were not at eye level and it contradicted the 'Biker Chick'. I realised that I was at a high vantage point and so made her look inferior when she is meant to be the opposite. What I could do better is to take more photographs so that I have a selection of images to choose. |
What I liked about these photographs is that they are not pixulated and look more professional and the camera is focused. The theme of this photo shoot was to represent a 'Biker Chick' and so looking at the photo's as a collection I believe I achieved that.
David Bailey was my inspiration for this photo shoot as he usually uses lighter background preferably white, however what I didn't like about this photo shoot that the background was white, this I believe made it look strange. If I had used a black background it would give the final image a natural look. What I'm going to improve on in my next photo shoot is change the background with the rest of my models that I'm going to use. I believe this will be more appealing to the viewer. |
|
|
|
|
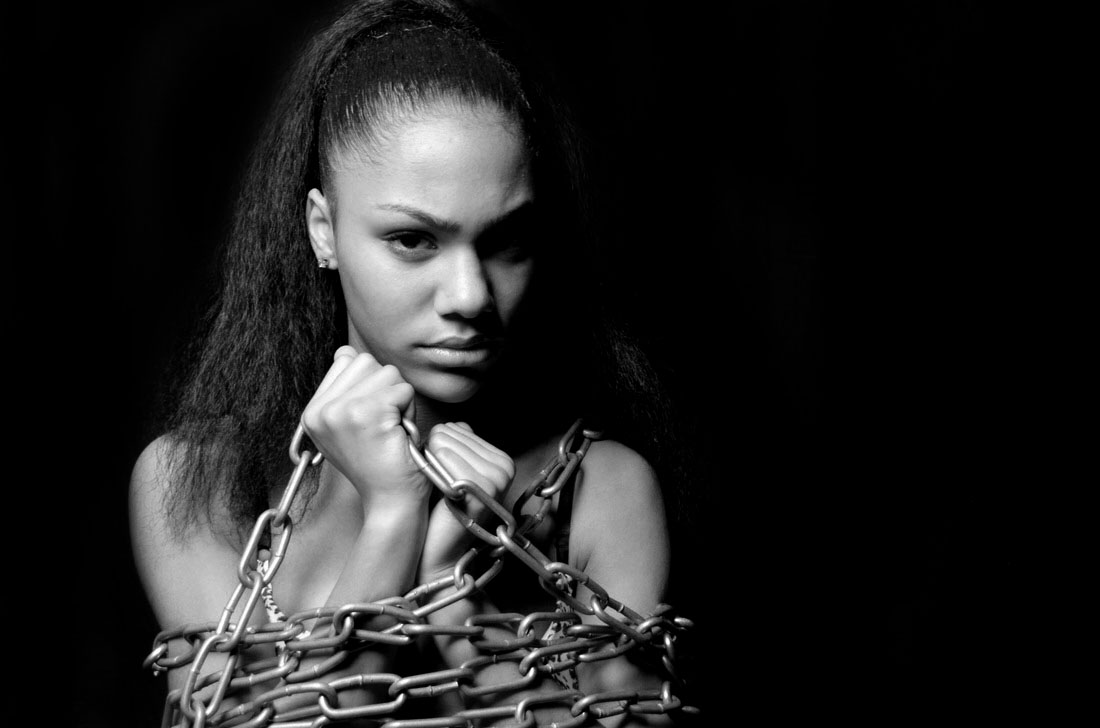
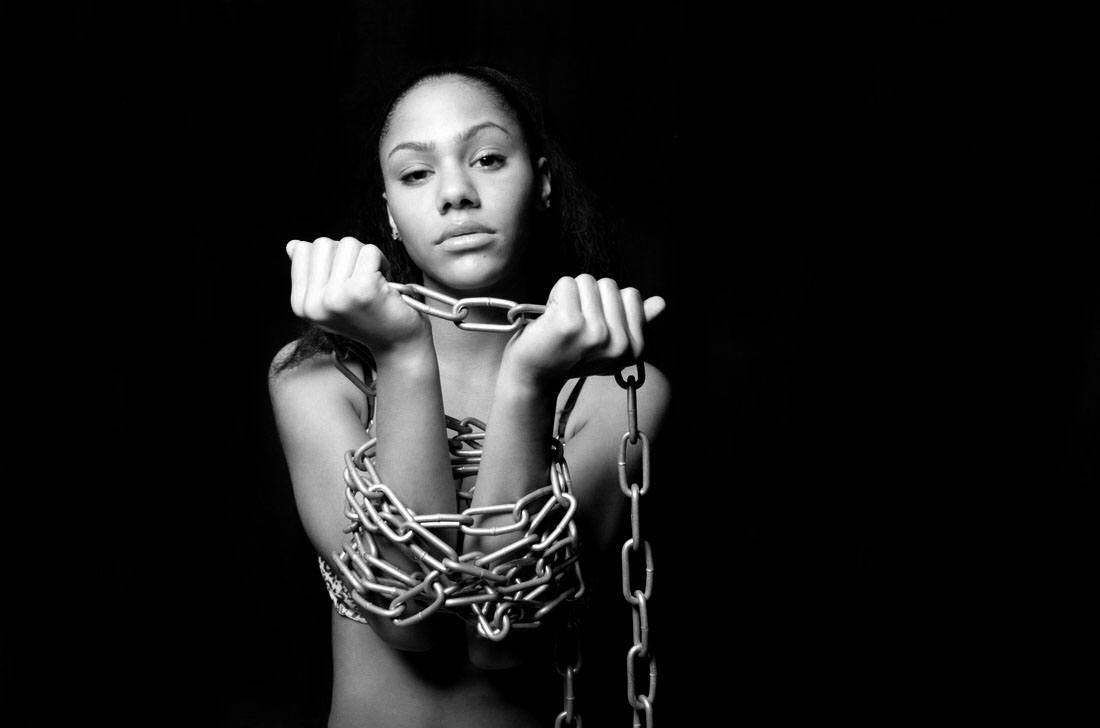
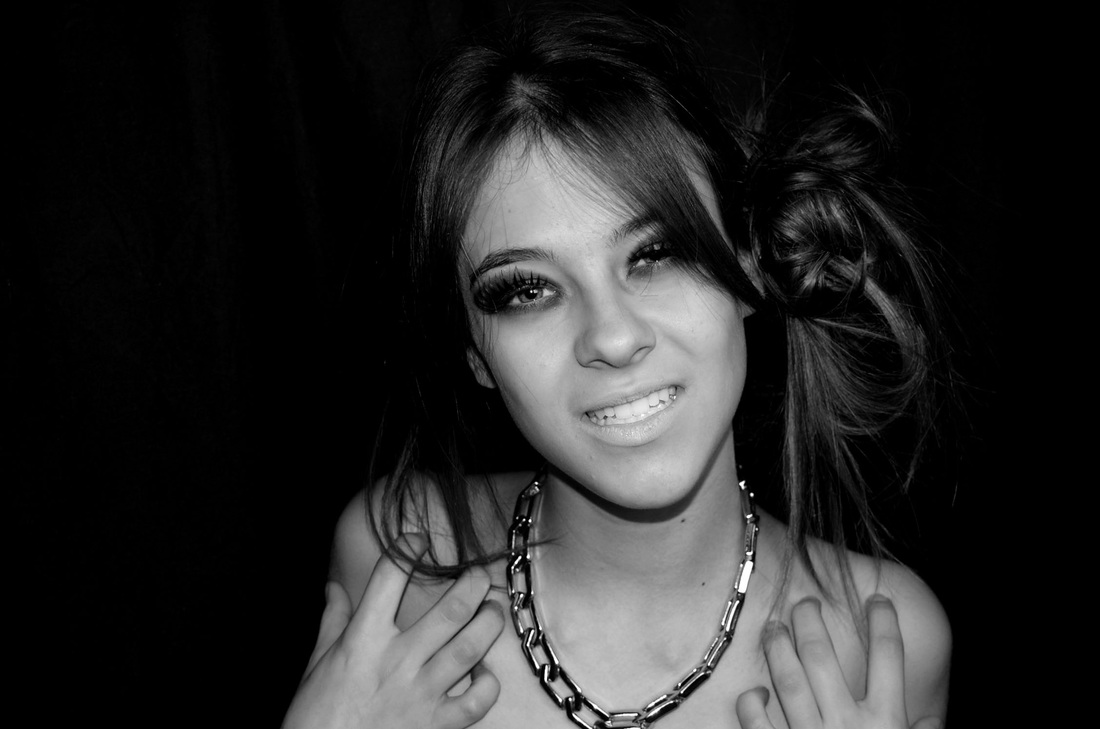
Photo shoot 2- Aila
|
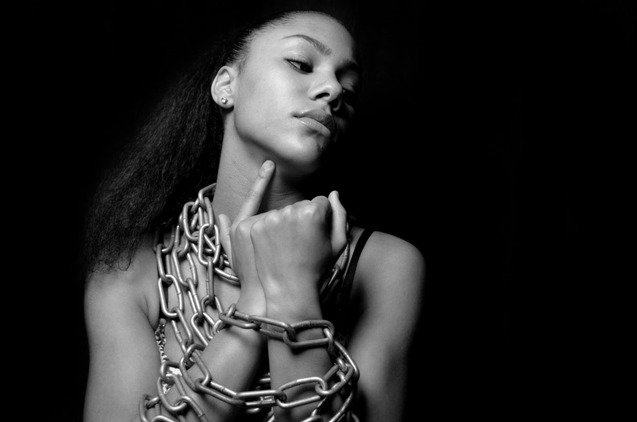
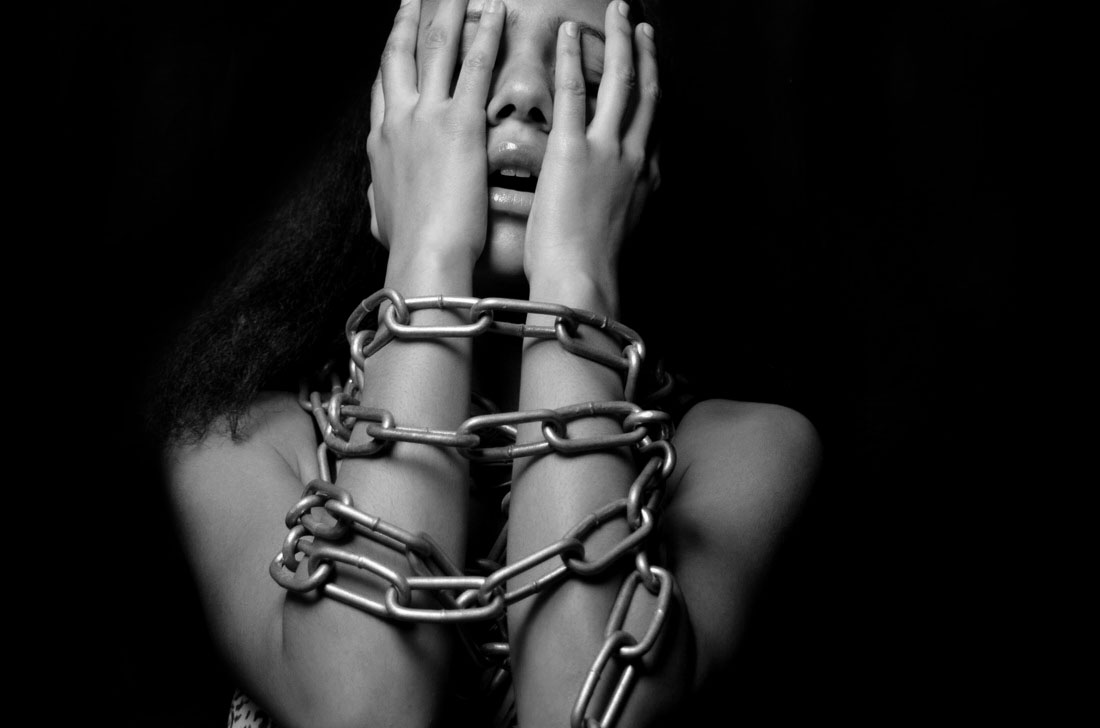
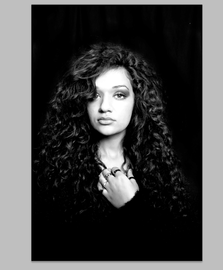
The second photo shoot involves Aila having metal chains wrapped around her, she doesn't have any make-up on other than clear lipgloss and her hair is slicked back in a ponytail so that the chain stands out the most. Similar to my first photo shoot the composition was straight forward, Aila in the middle.
In this photo shoot I used mainly clamshell lighting as this is used mainly for beauty shots and since Aila had no make up on the clamshell lighting showed all her features so when it came to editing it would give a soft looking skin. With clamshell lighting you have to be careful with not lighting the face too much and so I had to adjust my lighting carefully. |
When planning this photo shoot I had to make sure that I picked a confident model that wasn't shy in front of the camera. As Aila was confident found it easy to get more creative shots, if she wasn't this would effect my photo shoot as the finishing result wouldn't look as bod as it does now.
The problem I faced when shooting was that for the chains to be more effective Aila had to look as if she was wearing nothing but the chain and so in some shots you can see her bra and it was white and black, if she was wearing a simple black bra. When editing I found it difficult to change the colour of her bra. Comparing this photo shoot to the first, the change of the background from white to black I believe makes the photograph look more natural, when editing i found it easier to blend the background and Aila together so that it looks realistic and natural. |

|
|
|
|
Photo shoot 3- Rabia
|
|
Photo Shoot 4 - Rabia
|
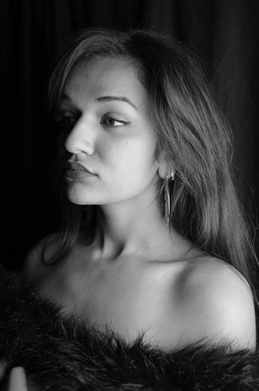
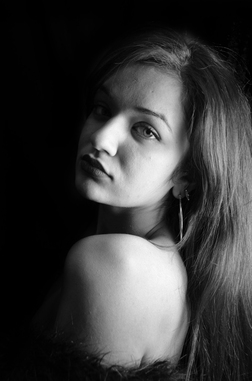
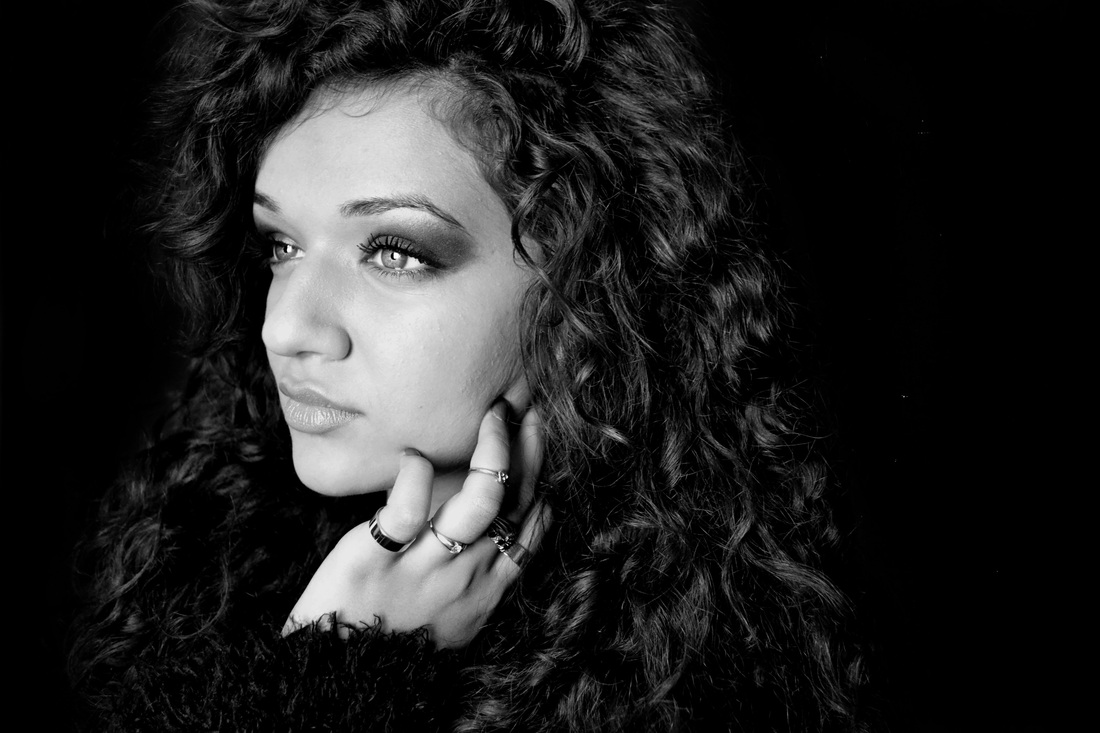
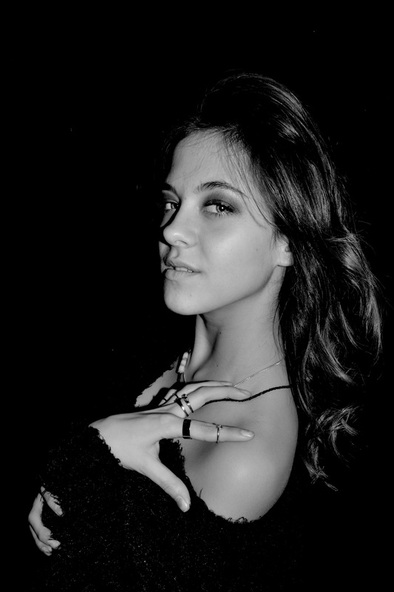
The third and fourth photo-shoot was of the same model. With the third photo-shoot was of a fur coat showing the shoulders with minimal makeup of just red lipstick and light coat of mascara. The hair is straightened this is done intentionally so there's no attention taken from the fur and shoulders. I used a mixture of lighting styles but used mainly clamshell light meaning i had to be careful that the images wouldn't turn out to be too white in the face. I worked on a black background because i thought the image would turn out better as the model wore a dark colour and makeup dark.
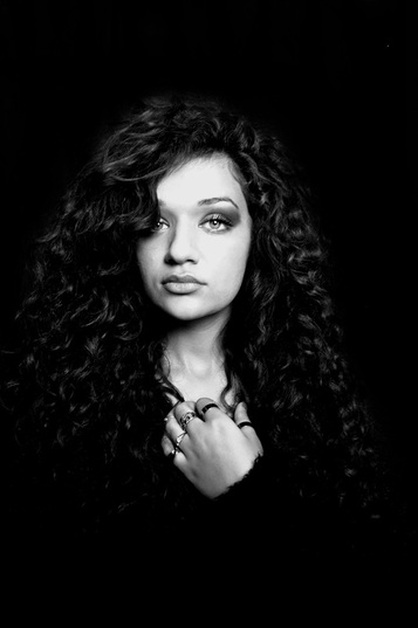
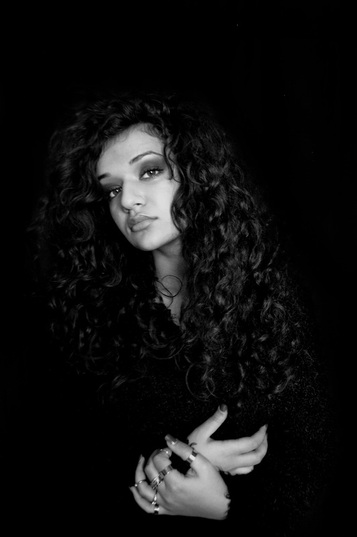
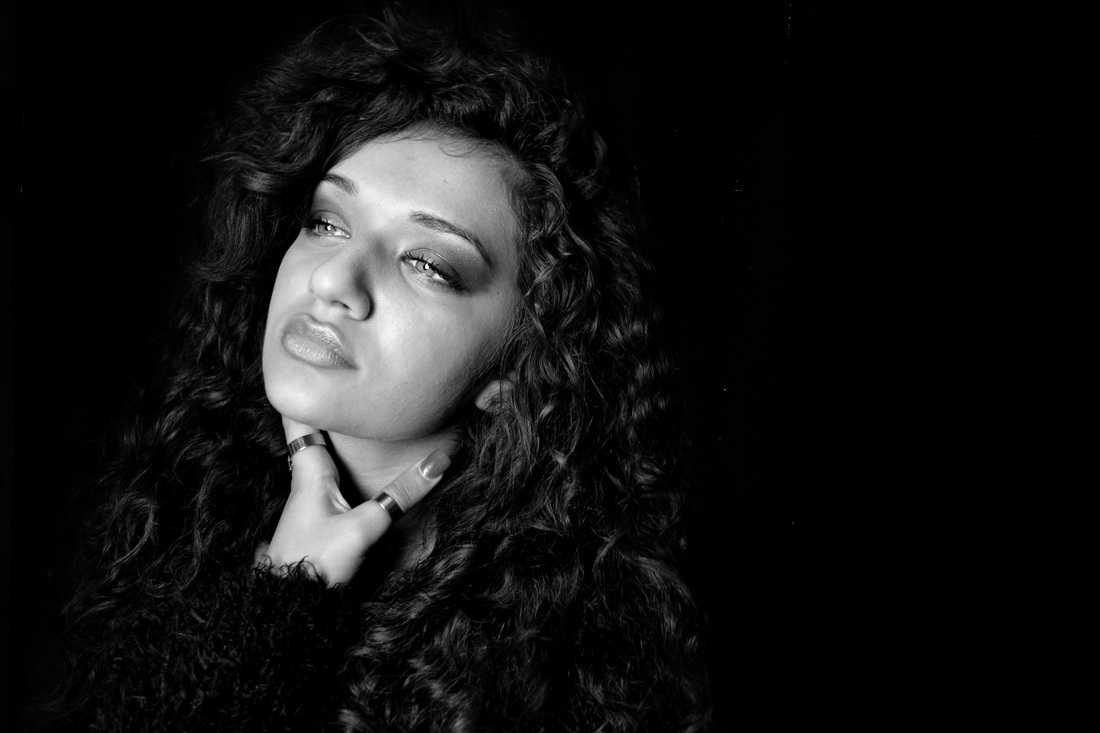
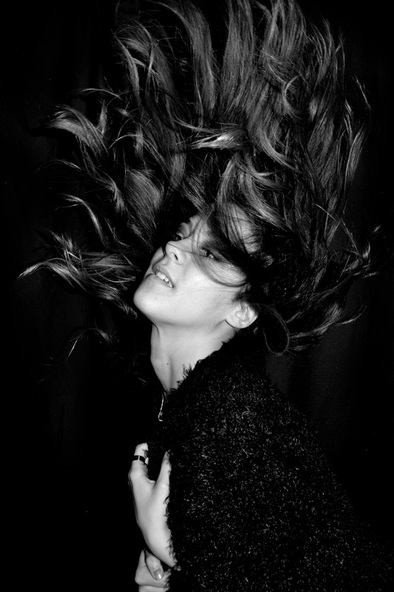
With the fourth photo-shoot I didn't the total opposite. The hair is curly with volume, there's more make-up applied with black eye shadows and more mascara, there's a light pink lipstick applies and she is wearing a fluffy jumper showing no skin. i used mainly clamshell lighting because i wanted the face to be seen clearly like a beauty shot. |
When looking back at the images of the third photo-shoot they didn't stand out like my first and second photo-shoot did. Even thought my second photo-shoot with the chains my model didn't have any make-up on but the chain added the something to make the image stand out and so if makeup was used then the attention of the chain wouldn't have much value.
|
|

|
|
|
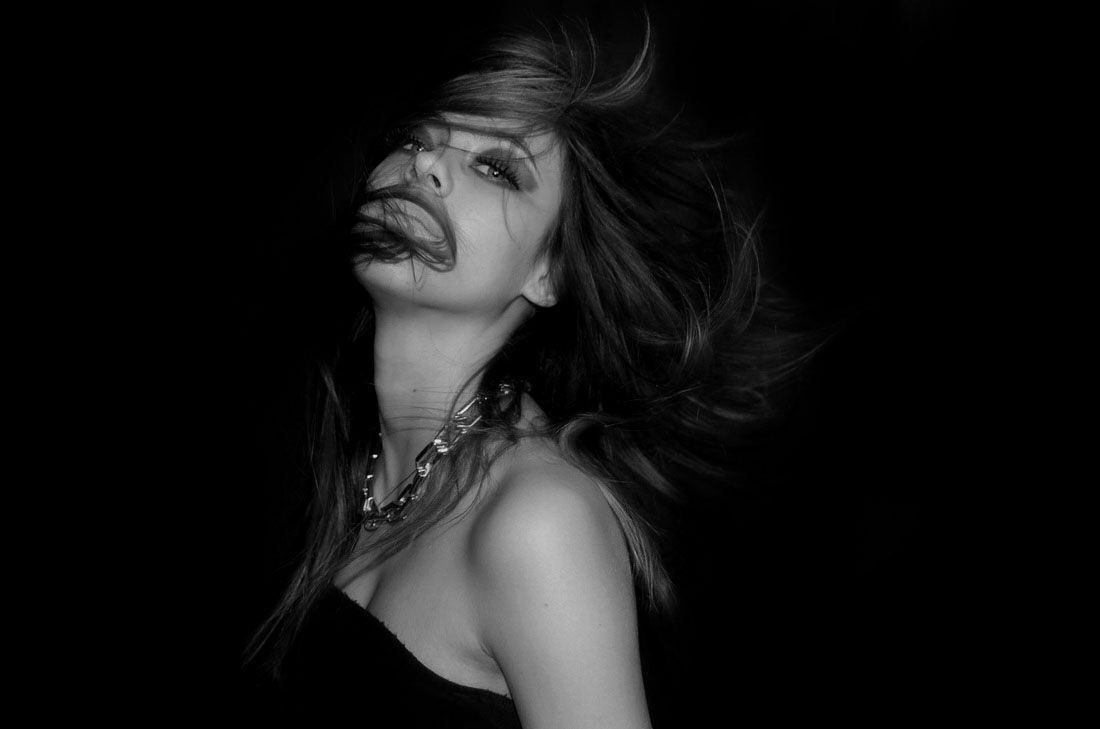
Photo shoot 5- Mariana
|
|
|
|
Photo shoot 6- Mariana
|
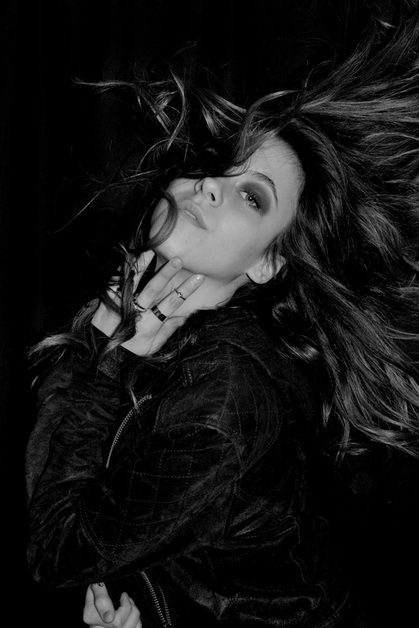
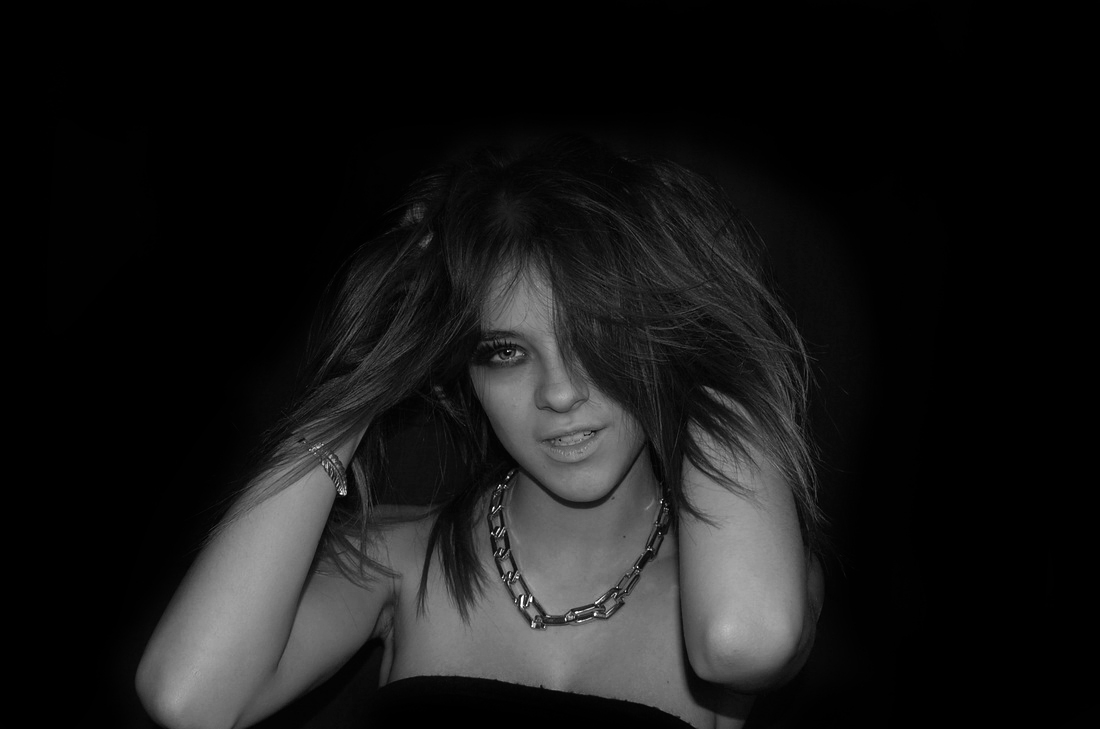
The fifth and sixth photo-shoot was also of the same model. With the fifth photo-shoot was more to do with the make-up of the model, she had a black eye shadow going all the way round her eyes and also lone fake eyelashes. She first wore a white vest but when looking back at the images i realised that the shots looked plain and so decided to just wrap her cleavage showing the shoulders.
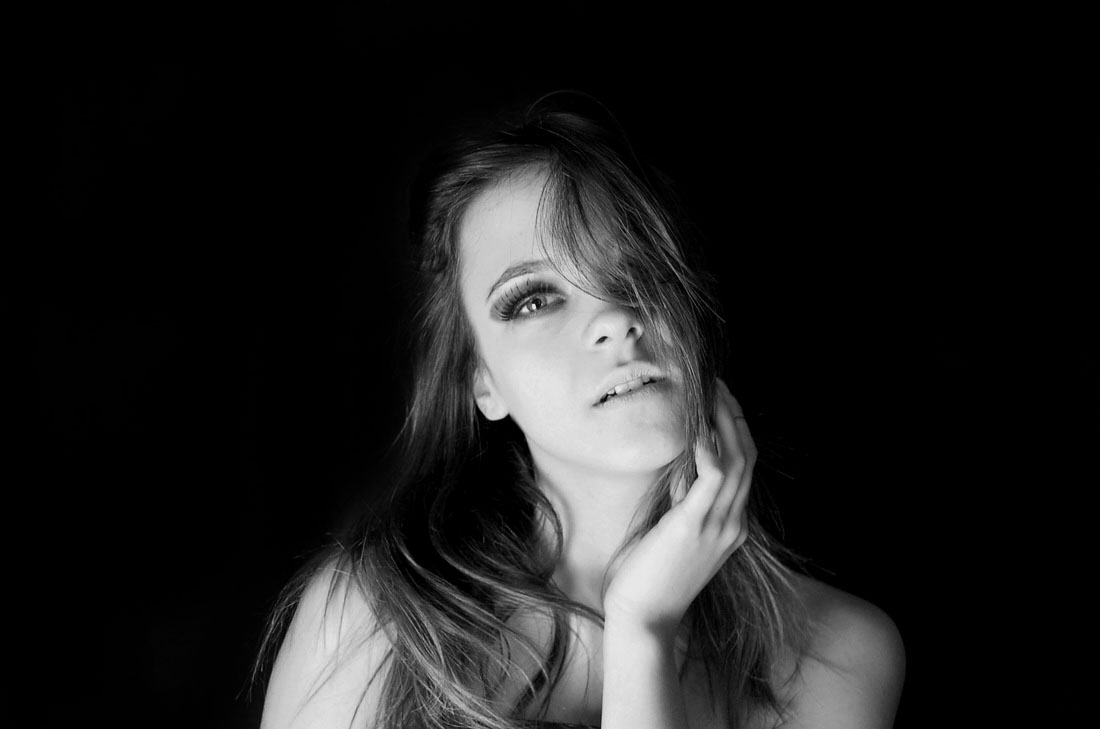
With the sixth photo-shoot was more so do with both the make up and clothing. This time i was more prepared with the clothing the model would wear and focused less on the make-up removing the fake eyelashes but still leaving the eye shadow making it more neat and professional. She had two looks in the photo-shoot, one a black fluffy jumper and the other a black leathers jacket with a hood. |
After the fifth photo-shoot looking back at the images i realised that i hadn't taken some portrait shoots and i needed a picture as i had done in the third and fourth photo-shoots. For my final piece i had decided to use both portrait and landscape shot. I would have a series of final pieces of each photo-shoot.
|
|
|
|

|
Process of final pieces
For each of my photographs i followed the same technique so that they would all have a similar result.
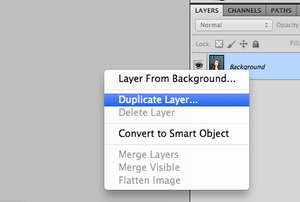
Before editing i had to first duplicate the layer.
|
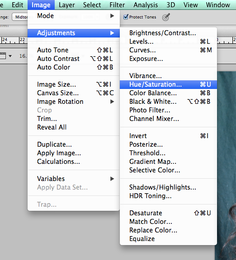
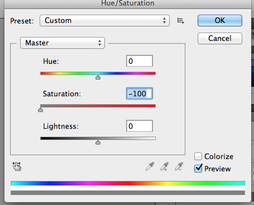
To turn the image black and white i adjusted the image use the hue/saturation. i turned the saturation all the way to -100.
|
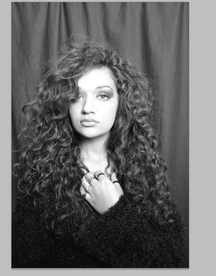
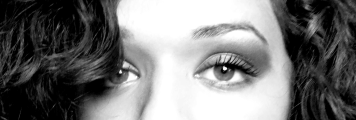
When turning the hue/saturation this is how it looked. I found that the models face was too exposed.
|
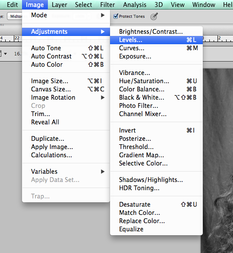
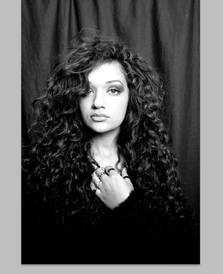
So that the image didn't look dull and the since the face was over exposed i adjusted the levels of the image and this then made it darker bringing out the colour.
|
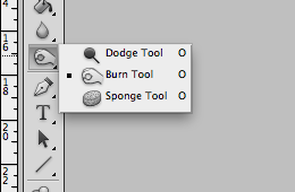
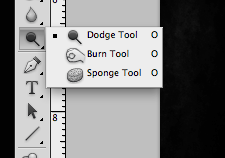
to change the background i used the burn tool, this darkened the background so that you don't see the the creases of the original background
|
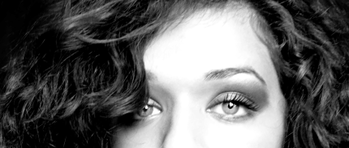
When I had changed the image black and white the models eyes had darkened and the main feature of the models face was her eyes. To lighten them i used the Dodge Tool.
|
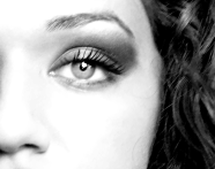
The makeup also needed to be darken so that it would stand out, to do this I used the burn tool and went over the eye shadow lightly to darken it.
|
AO4- Personal Presentation