Overlay
Photoshoot 1
|
|
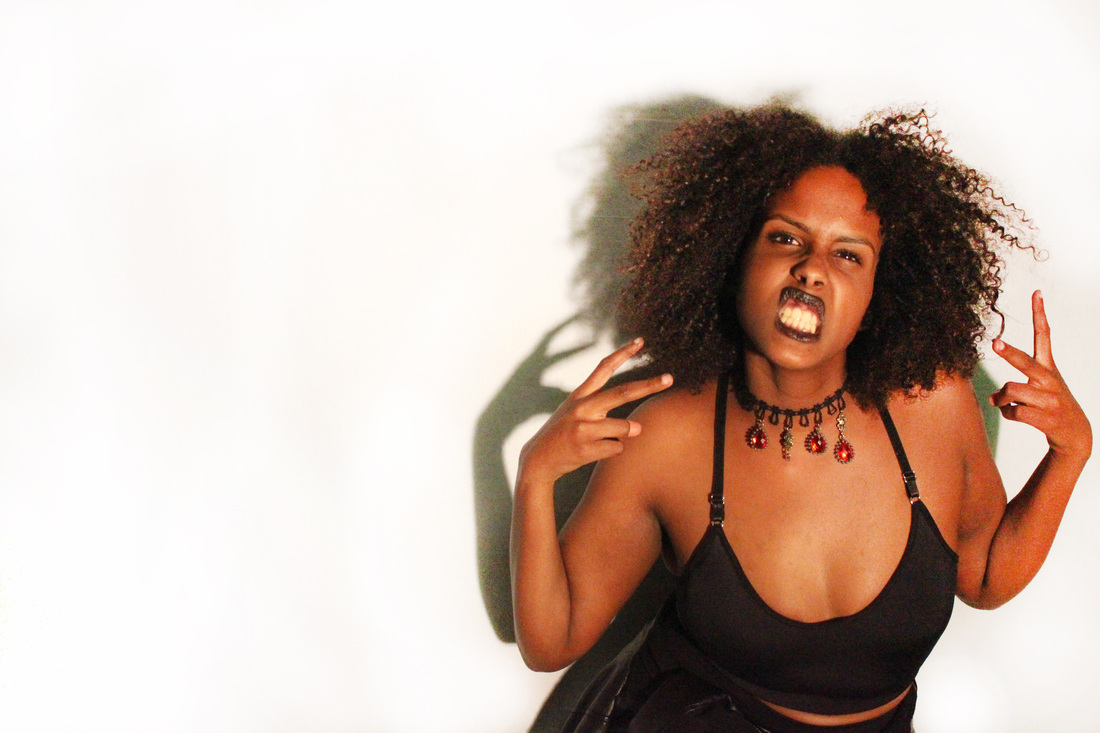
For this shoot i experimented with compisition and lighting, i used a different light source compare to any shoot i had done before and a white background. As for the look, the moodel is in a leather skirt and and a crop-vest overlayed with a flourist top which the model took off half way through the photoshoot so that i would have a variety of looks. In term of make-up, the model had mascara and a black lipstick to go with her black clothing. To achieve a different look, i added a choker neckless. As you can see i had a vary of quirky poses. |
Before & After

|
|
Experimentation
|
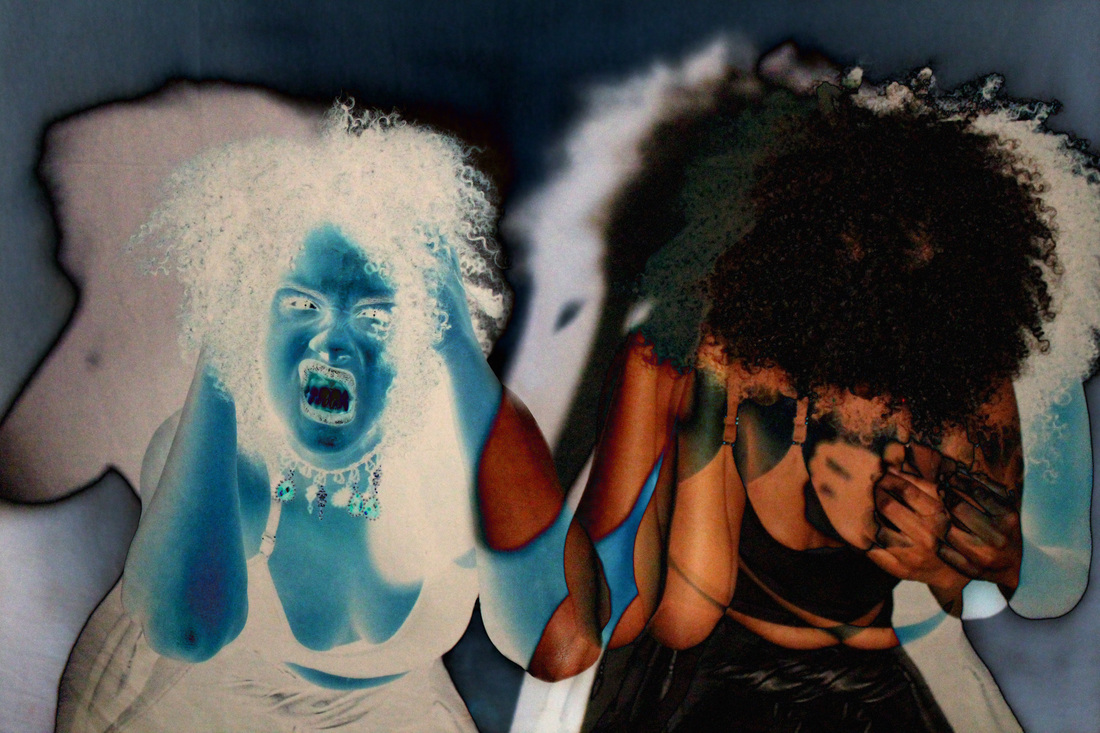
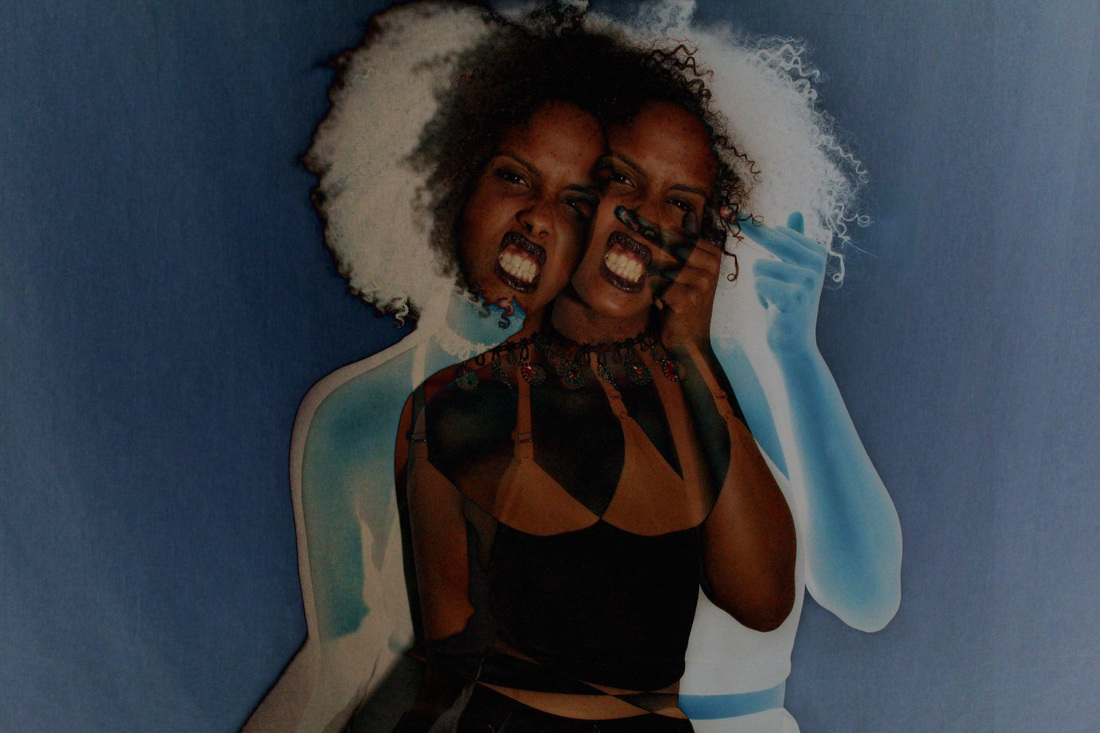
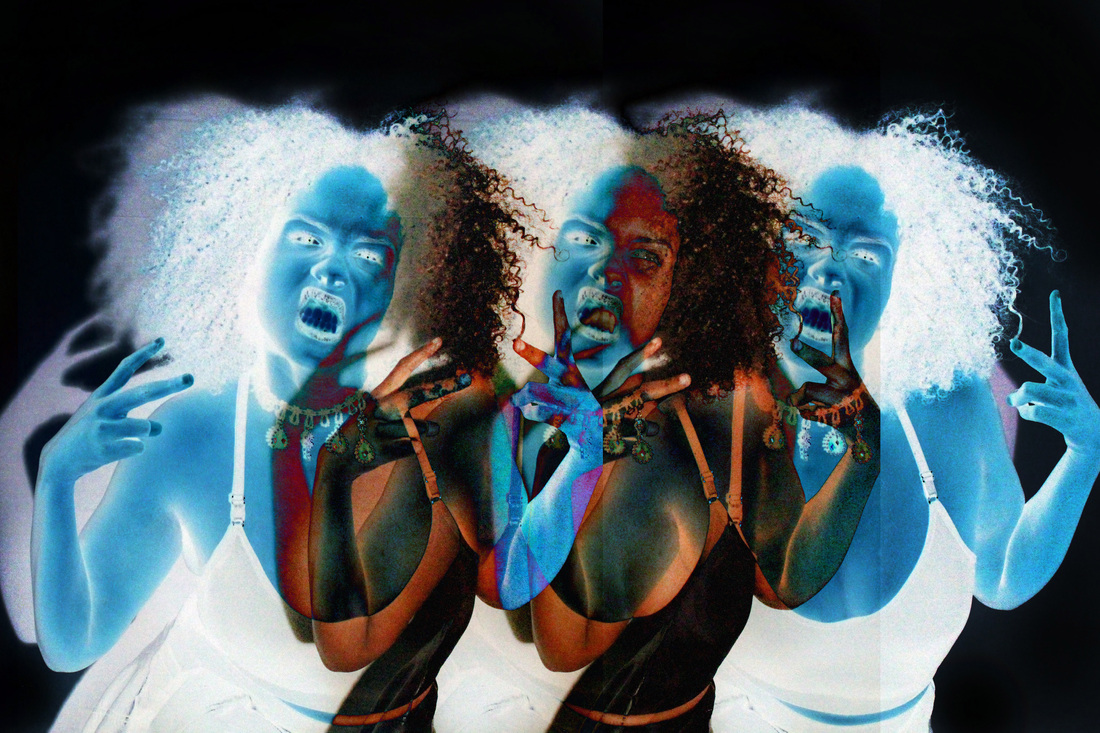
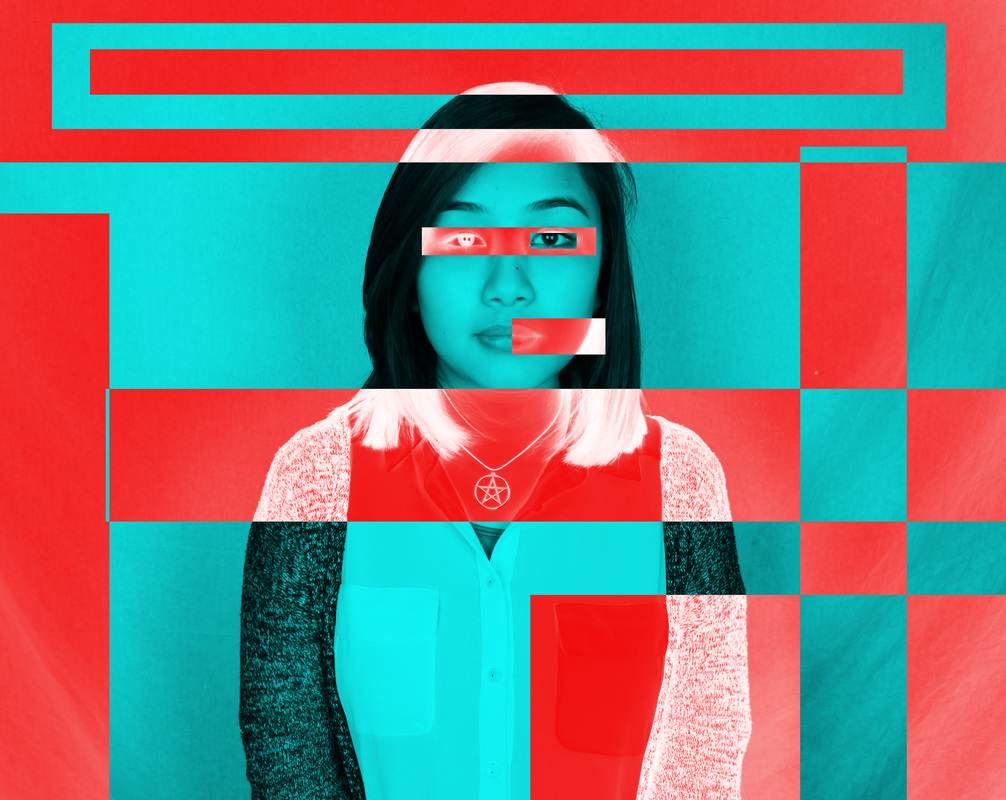
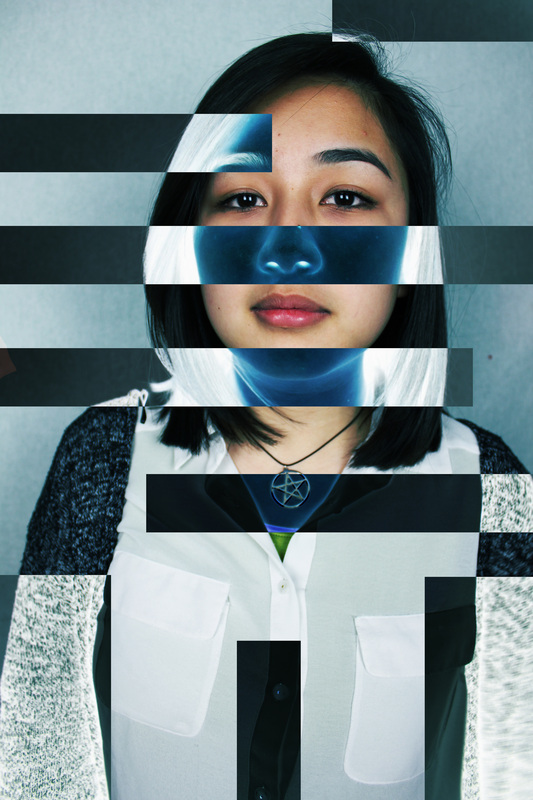
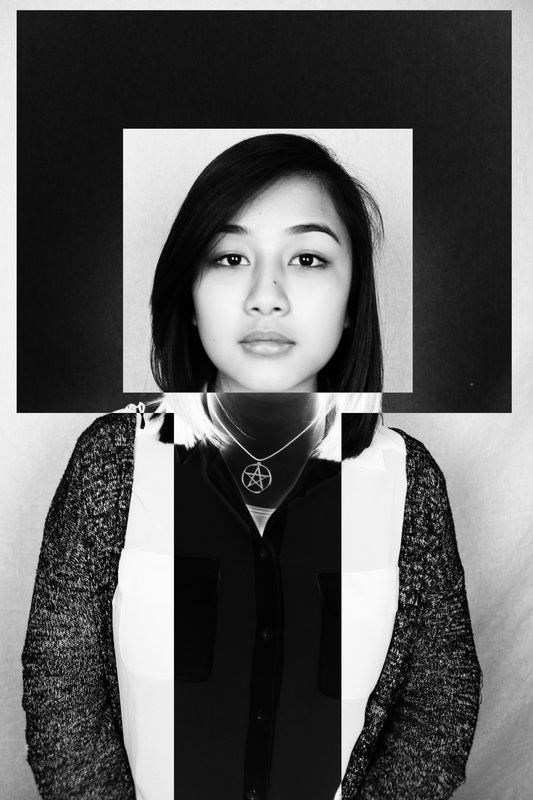
When editing i wanted experiment with different styles. For example with the two inverted images and the image on the left. i wanted to achieve a vibrant look that was quirky and modern feel to it. Using Photoshop i went through the different shots i had taken and looked for images i could combine together like the top two images. I wanted to see what style worked best and looking at the images i would say i prefer the inverted images because they look more creative. i would say the images fall in the category of both overlay and glitch .
|

|
|
|
Glitch Art
Sabato Visconti
|
'Jules In June'Sabato Visconti is a Brazilian born visual artist living in the gentle slopes of Western Massachusetts. As a small child, Sabato began drawing the different boats he saw passing by his high condominium window along the Miami River. Growing up, he was the kid getting in trouble for drawing cartoons instead of doing classwork. He studied political science at Amherst College and developed an deep fascination with the art of photography. Today he works as a freelance photographer with ongoing experience in commercial, documentary and film production.
|
Experimentations
Photoshoot 2 |
Photoshoot 3 |
|
|
|
Inspiration
|

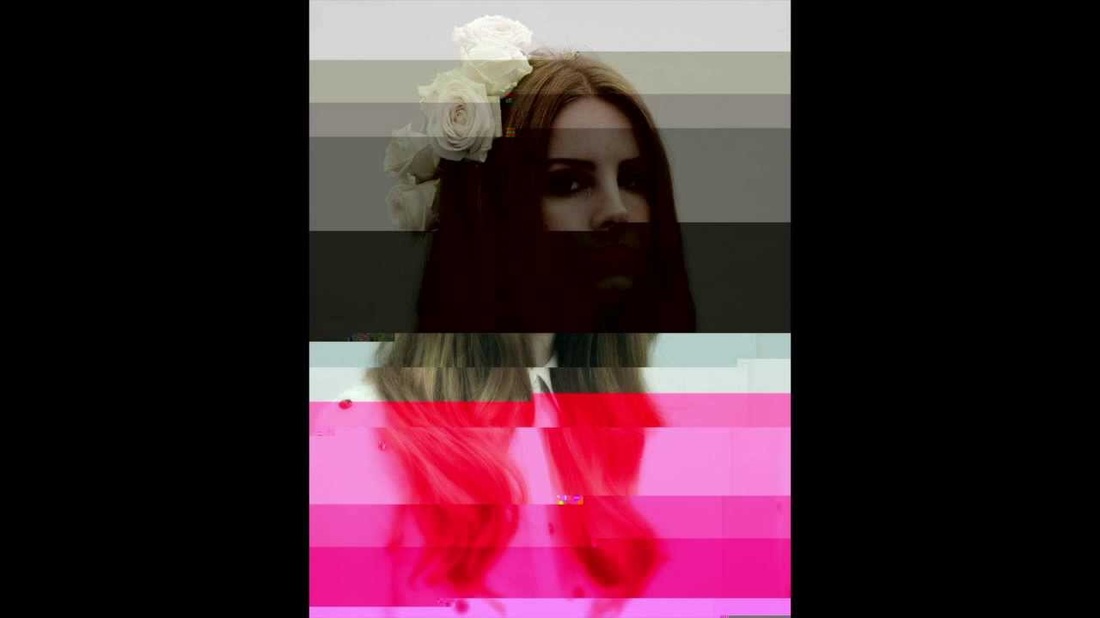
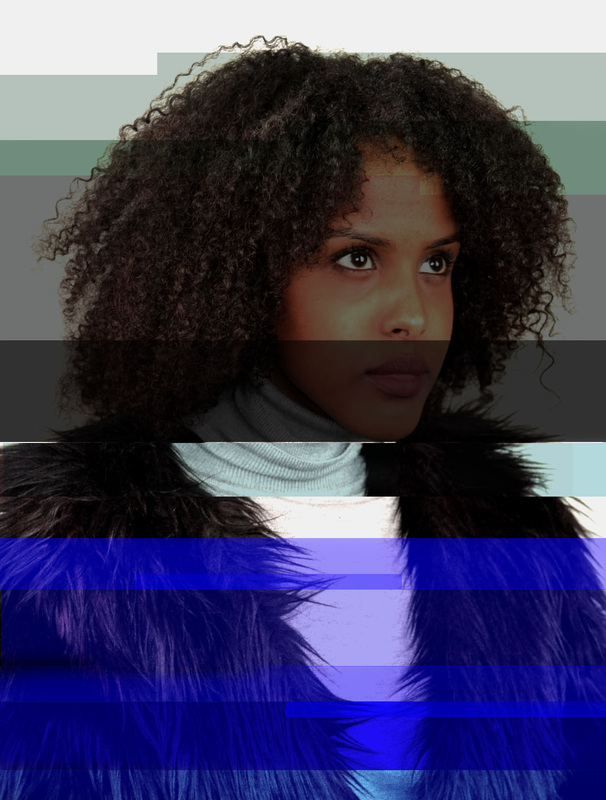
The two photoshoots are test shoots for me to experiment glitch art using photoshop. The images that i took were plain and simple, the background is white so that it is easier to see colour of the glitch and the moved sections, i asked the models to imatate the Lana Del Rey ablum cover so that i would have a guidline when it came to editing. With no experience with glitch art i resulted in using guidlines on photoshop to separate sections of the image, this helped me when it comes to editing different parts of the image for example adding the colour to the images and moving the sections.
|
Photoshoot 5 |
Photoshoot 6 |
|
|
|
|
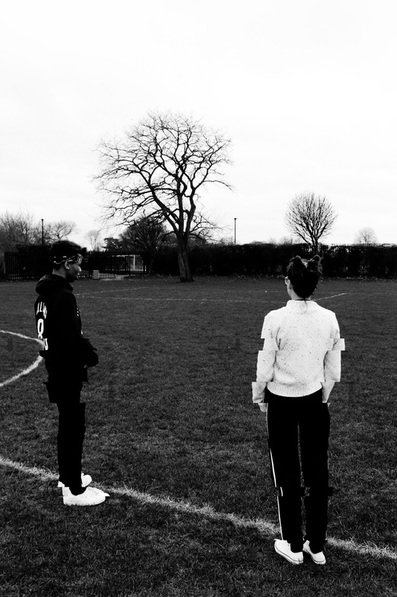
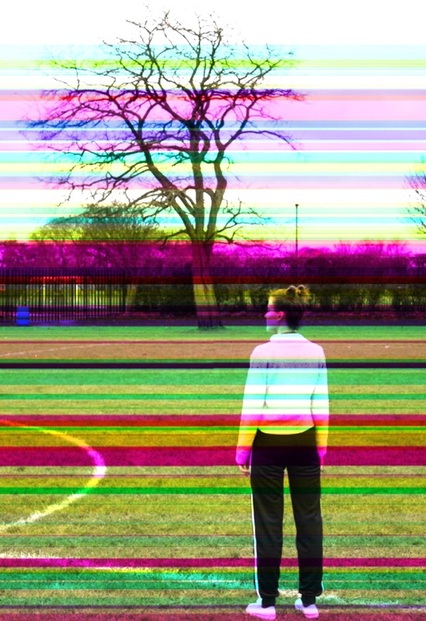
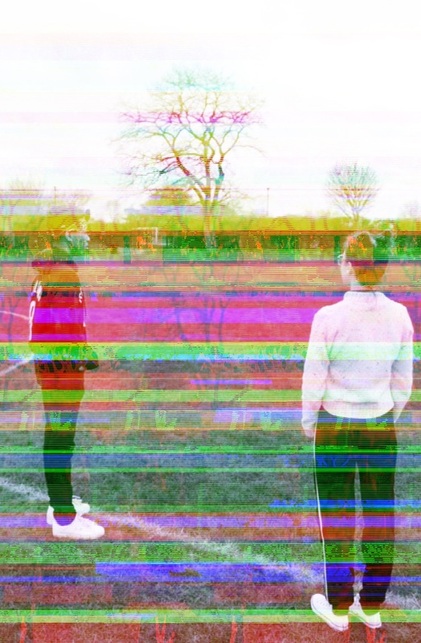
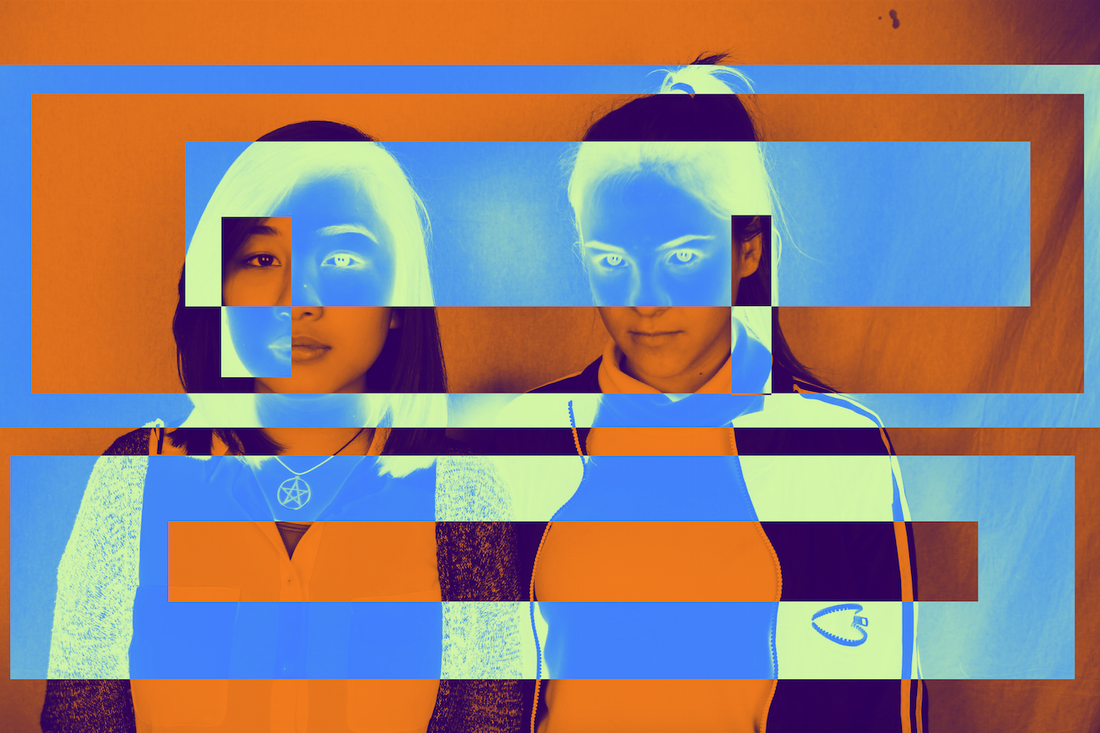
When it came to photoshoot 5+6, i chose to make them landscape due to the 'Gone Girl' film poster. The photoshoots took place in the same location with two different models. I choose a spacious background similar to the gone girl poster. One problem i face was the weather; the sky was dull and grey which didn't correspond to gone girl poster as it has an horizon.
|
Inspiration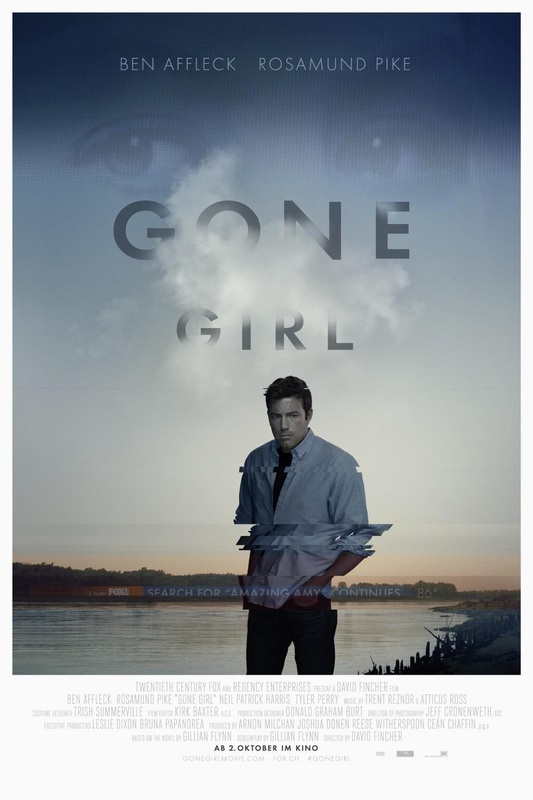
The inspiration for this photoshoot came from the 2014 Gone Girl movie. With this image the artist had glitch from the shoulders down, the background is of landscape.

When editing the two black and white images above on photoshop i used the same technique i had done with the other shoots. To experiment, i started dragging some parts of the image u can see above. In the end i went with having only one large section to drag because with more that one it would look messy.
|
|
Final Outcome
Photoshoot 7
|
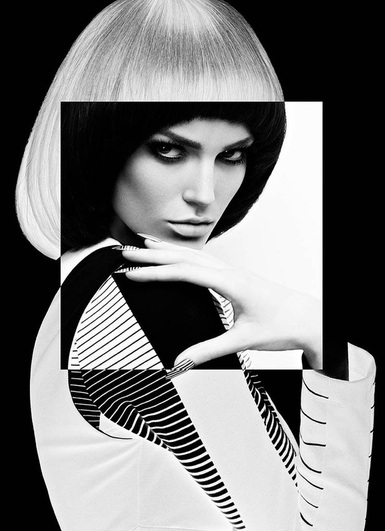
This photo-shoot was inspired by the image on the right that came across through the photography community. So to experiment i did a basic shoot with a model that had a similar hair cut with simple clothing. i took shots of different compositions .
|
Inspiration - Chris Nicholls Inverting
|
When it comes to editing i found it fairly easy. Using Photoshop, i experimented with changing the colour of the image in different vibrant colours and also just desaturte...the image. Furthermore, i moved on to selecting different parts of the models and inverted the image, creating different patterns.
|
The Gallery
|
|
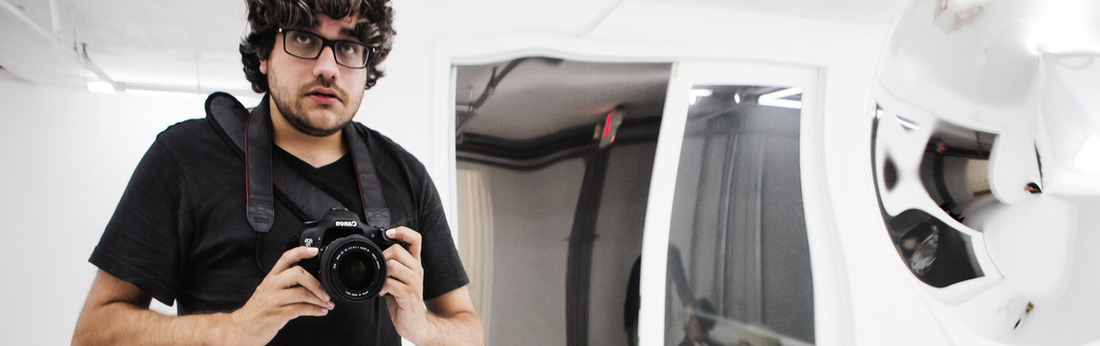
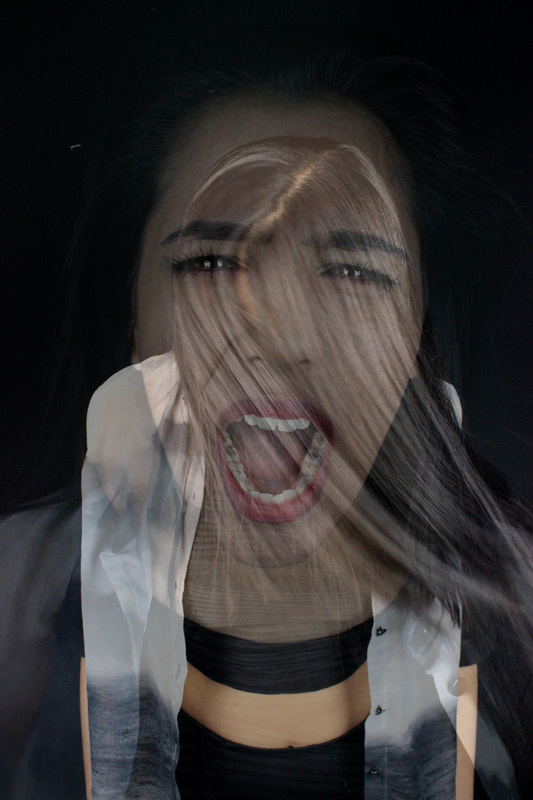
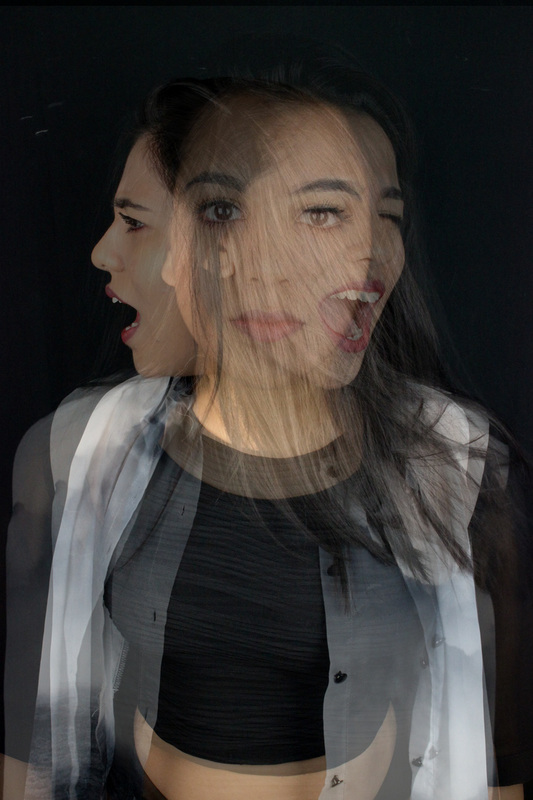
Photoshoot 8
|
|
This photo-shoot is just overlay without the glitch. The photo-shoot was inspired with a image i came across when looking into different styles of overlay. As you can see with the shoot on the left, i used a black background and lit my model so that her face was seen clearly. When it comes to the shots i took, i had the model do two different face expressions and have her rotate on the same spot giving me different angels .
|
|
|
